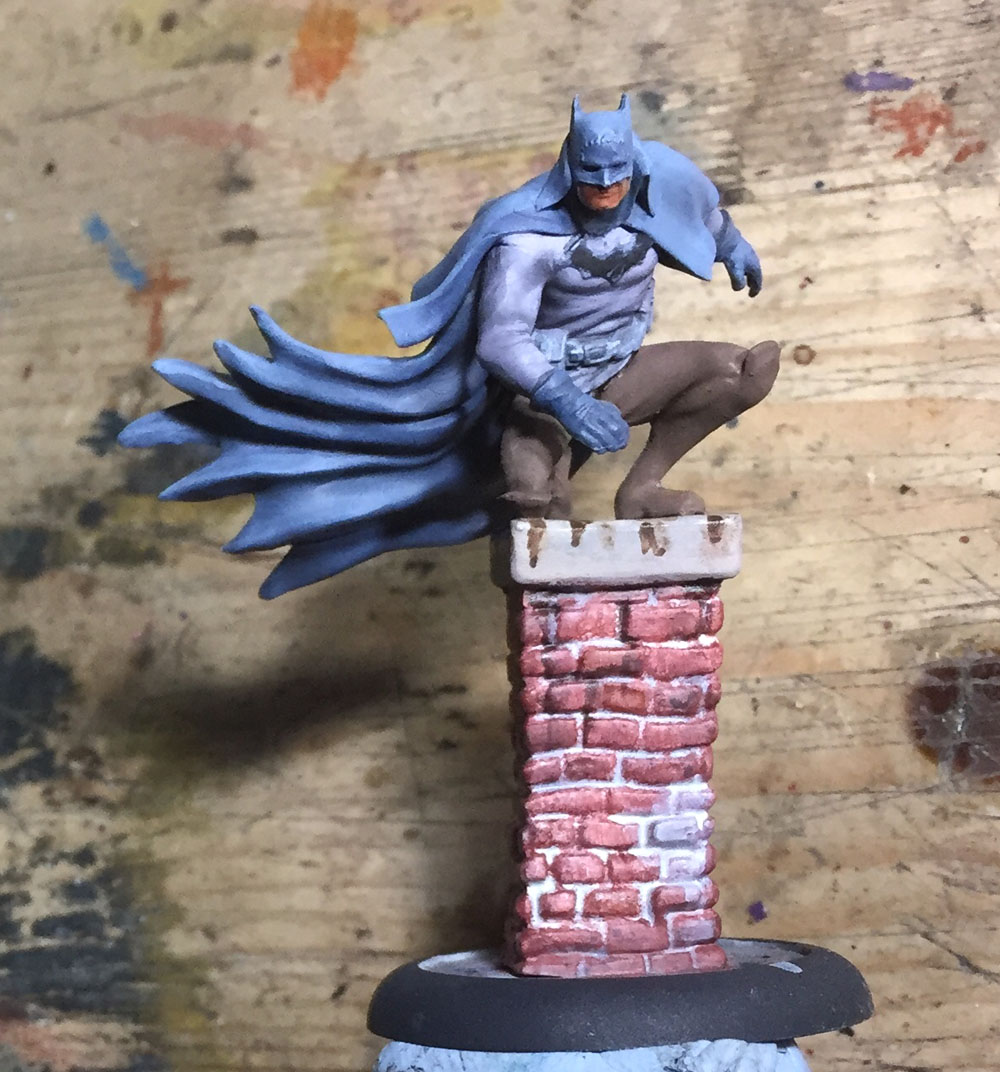
Monday 29 April 2019

Step-by-step tutorial for painting Clayface


This was a remarkably quick little project to do using an airbrush. It took a little under two hours from the primed stage to finished including drying times. I was totally surprised by the drying time of the odourless thinners as I'm more used to using white spirit with oils and they take overnight to dry.


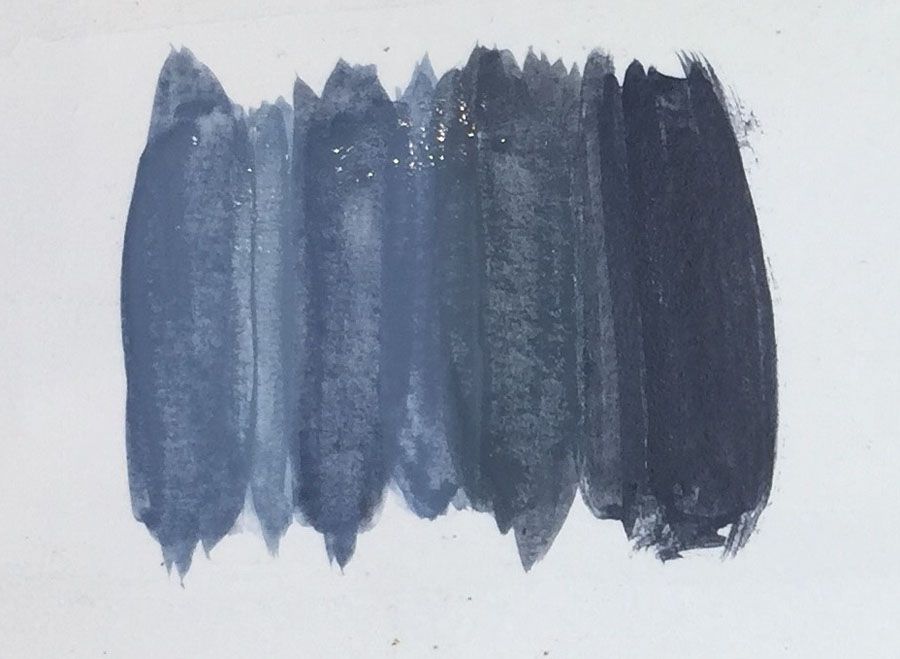
The colours main used are:-
Citadel’s Dryad Bark, Gorthor Brown, Baneblade Brown & Karak Stone. Ammo by Mig’s Streaking Grime and Odourless thinners.


I used a black primer to start and then gave it a blast from overhead with white primer.


Two coats of Dryad Bark to get an even coverage.


Highlight from about 45 degrees with Gorthor Brown.


Highlight with Baneblade Brown. Reduce the pressure and concentrate the highlights on these sections:  pecs, shoulders and tops of the biceps, tops of the forearms, right thigh, upper chin, top of the head and right toe.


Highlight in the same areas as above with a mix of Baneblade Brown and Karak Stone 50:50 but try to work in a smaller area keeping the highlight area towards the top of each section.


Highlight with Karak Stone to the same section areas but in smaller areas.


Apply Streaking Grime to the deepest folds.


Cover the figure in a wash of Streaking Grime mixed with the thinners at about a 50:50 ratio. I was quite lazy with this because I would load the brush with some grime and then dip into the thinners and slapped it on. No real technique lol.

You have a bit of time now to work on the wash. Dip a brush in the thinners, wipe off the excess on a paper towel and stroke the brush over the highlighted areas to remove the streaking grime. This can take a bit of practice but you will see a difference in the area where the wash was applied and the area where you remove the wash. You should then be able to get a transition between the recesses and the highlight areas.


For the face I used Dryad Bark for the eye sockets and inside the mouth. 
The teeth were painted with Ushabti Bone and highlighted by adding white to the mix. 
Inside the mouth was Red Violet and then highlighted by adding white to the mix. The same mix was used for the lips. 
I then used Dryad Bark line between the gums and teeth.
The eyes were picked out with Vallejo’s Flat Yellow and dotted with white, followed by an orange glaze to soften the yellow against the dark brown of the eye socket.


The lips were highlighted by adding some Vallejo’s Ivory to the Violet Red and picking out the raised areas. I lined the outer eye sockets again with Dryad Bark which made them appear darker.


And finished...


Sunday 21 April 2019

Step-by-step tutorial for painting Gotham by Gaslight Batman


I saw this different colour scheme to the one used by Knight Models for their box art and decided to go with it instead.


I started off by giving Batman a zenithal prime using an airbrush, then a coat of Vallejo’s Ivory to the chimney stack.
 
I didn’t have a suitable reddish brown for the brick colour, for this I mixed some colours. I used Citadel’s Skrag Brown mixed with Vallejo’s Burnt Red and then applied it to the bricks using a sponge in order to get a nice texture and it rarely goes into the gaps between the bricks. The sponge won’t get into the top of the stack so I used a drybrush to apply the paint there.


The trousers were base coated with Scale 75’s Walnut, the top of the outfit, let call it the jumper, was base coated with Citadel’s Warpfiend Grey. The cape, cowl and gloves were base coated with Russ Grey. Bat symbol was given a rough coat of Black which will be tidied up later on. The skin was given a coat of Citadel’s Cadian Flesh. The smooth area at the  top of the chimney was given a coat of Vallejo’s Buff.


I prepared a few tones on the palette ready to paint the cloak.
Starting from the left and going right we have:-
#1 - Fenris Grey
#2 - 50:50 Fenris Grey and Russ Grey
#3 - Russ Grey
#4 - 90:10 Russ Grey and Vallejo’s German Grey
#5 - 80:20 Russ Grey and Vallejo’s German Grey


shows the mixed tones #1 - #5


This picture shows how the shading works into the recesses or folds of the cape and have been separated on purpose just for explanation. From left to right we have Mix #2 to Mix #5 only because Mix #1 (or Fenris Grey) is only used for the extreme highlights. 
Lay down the tones in order from the top of the fold and work with darker tones towards the bottom of the fold and then begin to work lighter up the other side of the fold. You should have the makings of a nice transition in tones.


When laying down the tones as above you may have time to blend the colours that are next to each other so you end up with a nice smooth transition. If the tones are too far apart you can always make up intermediate tones by mixing them together. Adding some retarder to the mixed paint can help a lot during this process.


Mix #2 is applied to the top of each fold.


Mix #3 is added a bit lower down each side of the fold and while that is still dry apply Mix #4 next to it and try and blend them together.


Mix #5 is added to the deepest part of the fold and blended in to the previous layer. Mix #1 is applied to the very top of the fold, if you need to apply another coat of Mix#2 directly next to it and blend together.


I shaded the jumper with a 60:40 mix of Warpfiend Grey and German Grey and applied it to the folds on the arms at the elbow and above the bicep and underlined the chest.


First highlight of the jumper with a 50:50 mix of Warpfiend Grey and Slaanesh Grey


Second Highlight of the jumper using Slaanesh Grey. Highlights should be at the top of the folds at the elbow, stomach and the top area of the chest.


To add a bit of interest to the bricks I used Ammo by Mig’s Streaking Grime Effect. Because it’s only a small area, using the grime effect is a lot faster than preparing some oils. 
This is an enamel based product so I’ll be using a different brush. Use an older brush that has lost it’s point because there is no need to be particularly tidy with it because it will stay’ workable’ for a while. Make some streaks and clean the brush in some enamel thinners of white spirit.


Whilst the brush is still moist with thinners feather the edges of the streaks, first on one side, then the other. This will leave the streak slightly stronger in the middle. I also added patches of white using a thinned down Ivory to look like the mortar had run down the chimney stack.


Exactly the same process using the streaking grime but on the smooth top area.


First highlight of the trousers using Scale 75’s Walnut mixed with a little bit of Ivory. The belt was given a coat of Scale 75’s Orange Leather.


I used a darker tone for the folds in the trousers by adding some Scale 75’s Brown Leather to the Walnut.


Another highlight to the trousers by adding a little more Ivory to the previous mix.


The belt was shaded using Brown Leather.


The belt was given a highlight using Scale 75’s Iroko


The Bat symbol was tidied up using Greman Grey mixed with a little black to define the outside and then filled in with German Grey.


Using a thinned German Grey and Black mix I darkened the eye sockets added a line either side of the nose and defined the shapes on the belt.


I used a thin down black for the bottom half of the bat symbol and feathered it out to get a slight transition from the top half. The skin was highlighted with  50:50 mix of Cadian Flesh and Kislev Flesh, then highlighted again by adding some Flayed One Flesh to the mix.


Using Fenris Grey with a little Ivory,  I picked out the lines on the forehead.


And the finished mini...


Sunday 14 April 2019

Showcase from 2018 part 2

This resin version of Two Face was the subject of my first Batman painting tutorial on YouTube, split into five parts it started with assembling and priming to the finished article.


Knightfall Batman


Nightwing


Harley Quinn's Gatling Brute. This was crying out for some spent
shell casings on the floor.


And the crew...


Rebirth version of Batgirl


Frank Miller version of Batman. I picked this old one out purely to get another version done and to try out some Payne's Grey ink for the cape.


The collection so far,,


I used this Joker Titan Form for another tutorial on blood and gore.


I was struggling to come up with a colour scheme for the Court of Owls and whilst looking through my paints I quite fancied using a bluey-grey and came up with Dark Reaper and Thunderhawk Blue. I added some blood and gore later on, this led to adding splashes of red as a spot colour to the rest of the crew.


 It turned out to be one of my favourite looking crews