I wanted to do an Iceberg Lounge and had a rough idea of the building I wanted to use after seeing the Monarch Theatre by Multiverse Gaming but how to convert it to the Iceberg Lounge?
I've been in touch with Andrzej at Multiverse quite a bit over the last couple of years when ordering kits and he's always been a great help. Whilst chatting he reminded me of the custom sign service where they are able to print out signs to your specifications. It turns out that he already had an Iceberg Lounge sign....Result!!
Here how I went about it....
1. Build the kit. Don't glue the ticket office roof section.
2. Spray
with grey primer, it took about 3 coats to make sure you get a good even
coverage.
3. All
the following steps were done using an airbrush. Spray the columns with Vallejo’s
Neutral Grey in a striped pattern.
4. Spray
a very light blue mixed with white directly under the neutral grey stripes. I
used Vallejo’s Sky Blue and White.
5. Spray
a thin stripe with an off white colour I used Vallejo’s Off White.
6. I used
the same process for the Iceberg Lounge sign.
7. Mask
off the columns and cover with paper to prevent any over spray getting to them.
Mask off the triangular shapes too.
8. Spray
a dark blue along the top of the building front. I used Vallejo’s Prussian Blue.
9. For
the middle section I used Vallejo’s Prussian Blue mixed with Sky Blue. Try and
get a nice transition between the colours.
10. For
the bottom of the section I used Vallejo’s Sky Blue, again trying to get a nice
colour transition and then removed the masking tape when it was dry.
11. To
ensure the blue was dry I gave it a blast with a hair dryer for a good 5
minutes and then masked off the painted area in preparation for the next stage.
12. I
wanted blue-grey for the triangular shapes so that it would be different from
the columns painted earlier and also because it would go well with the blue. Starting
at the broadest part of the triangular shape I sprayed Citadel’s Russ Grey.
13. In
the middle section I used Citadel’s Fenris Grey. As above try to get a nice
transition between the colours.
14. For
the bottom of the section I used Vallejo’s Pale Blue Grey mixed with some White
and removed the masking tape when it had dried.
15. For
this stage I masked off everything on the ticket office roof apart from the sign area
16. I
used a couple of coats of Vallejo’s Off White to get a nice even coverage.
17. Cut
out the lettering provided with the kit and glue into place. I used quick
drying PVA for this because it allows you a little time to make sure the
letters are level and evenly spaced.
18. I
painted the door and ticket booth next using Citadel’s Balthasar Gold.
19. I
wanted the sign slightly raised from the ticket office roof so I found some
large paper clips to use as supports. Drill matching holes in the roof and carefully into the bottom of the sign then
glue the length of paper clip and leave to dry before gluing into the sign’s
final position on the ticket office roof.
20. I
carefully painted the curved ends of the ticket office roof in black.
21. I
used an old Knight Models Penguin marker to make a stencil. Just draw around
the marker and cut out the shape. I then masked off the surrounding area in
preparation for the next stage.
22. Fill
in the stencil with an airbrush. I used Vallejo’s Off White again. Repeat the
process for the other end of the ticket office roof by flipping the stencil in
reverse.
23. Test
fit to check all the colours.
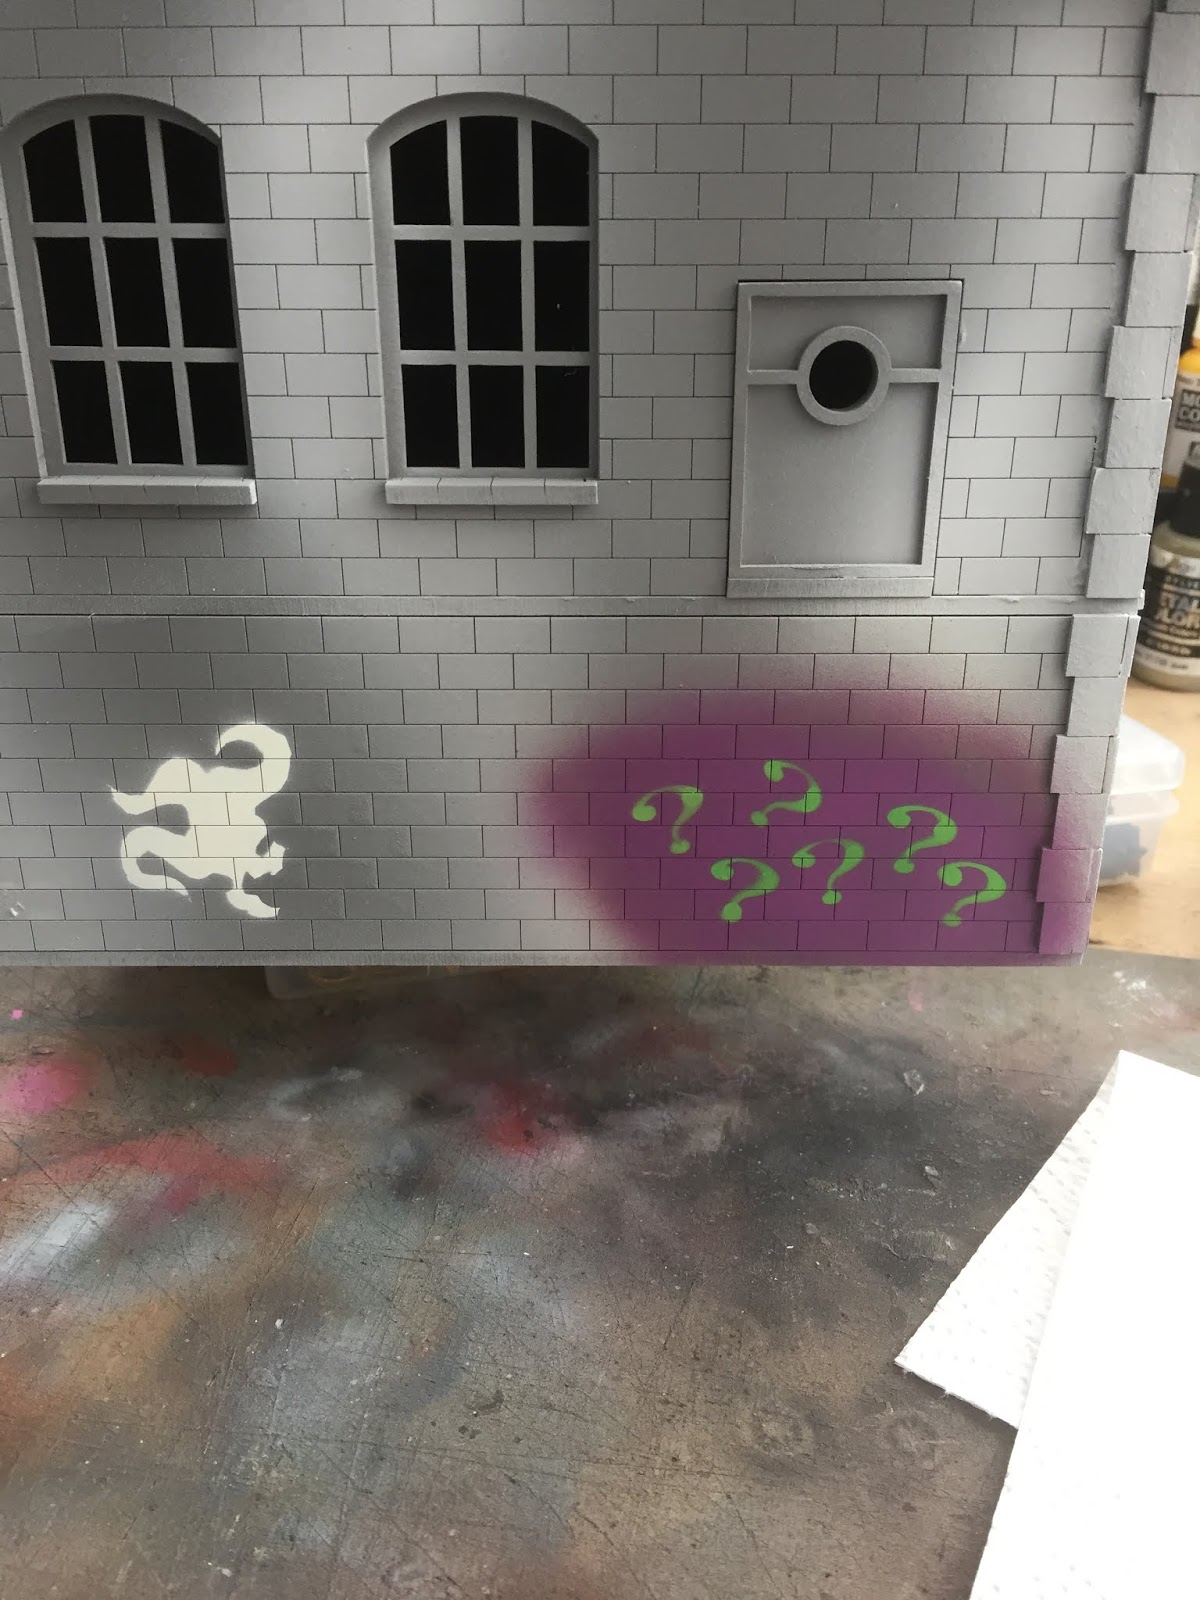
24.
Graffiti !!
25. Oil
wash weathering (see the blog post Step by step for MDF buildings)
26. Done.